This was my very first attempt at upcycling a calendar to create some easy greeting cards.
I started with December from this calendar:
The weight is a bit heavier than envelope paper, but not it's not as heavy as card stock, so it worked out perfectly for both the envelope and the card fronts. Unfortunately I didn't take a picture before I cut up December's artwork, but here are my results:
I was able to get two cards, one quite large and one a smaller note card size out of one calendar month.
I was grateful that the artist's name showed up on the largest card.
I used an envelope board to make this envelope. Avery labels make it easy to write the addresses. I'm not crazy about how it looks in the front, but the back turned out well:
The large card, which I think turned out really well, is going to be mailed in a clear envelope:
Well, that's it for today! In January I hope to do a YouTube video showing more detail of how this is made and some different tips, but for now, this is what I've got. Showing off the artwork of this great artist is wonderful, and giving an old calendar a second chance is great too, but the fact that it's almost free is a big plus too!
Who wouldn't want a sweet Yellow Lab wishing them a Merry Christmas. This guy is complete with peppermint candies and a Santa hat too.
If you, or someone you love, would love getting a card like this, feel free to download it and turn it into a holiday smile.
After printing mine out at FedEx, I trimmed it, mounted it on red card stock, then on two pieces of patterned. paper. The red stiped paper picked up the peppermints, and the swirly brown background was chosen because it looked good with the dog's fur. But you can mount it any way you want!
Here's the free digi. As always:
Snag it to your desktop or photos.
Put it in a Word or Page Document.
Resize it to the size card you want to make.
Print it out, either at home or at a copy center.
I hope you enjoy the freebie! Thanks for stopping by my blog today and have a wonderful day!
Once again a digital image is just what I need this Christmas. I have a friend who loves her pug Duke, and from what I see on Facebook, he's just adorable. I've always loved pugs too, and wanted to honor her fuzzy family member with a Christmas Card with a pug on it.
Rather than buying a rubber stamp with a pug, which would totally be adorable, I opted to create a digital card front, especially since she's the only person I know who has a pug.
This one is really simply finished with a red card stock frame and then it's mounted on a green card stock base. The only embellishments are three green rhinestones from Michaels. Easy peasy!
Here's the free digi. As always:
Snag it to your desktop or photos.
Put it in a Word or Page Document.
Resize it to the size card you want to make.
Print it out, either at home or at a copy center.
I hope you enjoy the freebie! Thanks for stopping by my blog today and have a wonderful day!
It's time to play over at Retro Rubber again! This round, #220 (#rrcb220) is a tic-tac-toe round.
First of all I've got to say that the design team has the cutest cards with all the snowmen. I don't have any snowmen stamps and I really need to fix that. Of course I can't for this round, but I'm keeping my eyes peeled for that perfect snowman stamp. I think I struggle with them because they're white and in my mind, hard to color. Do I use a light blue, or a light gray, or just keep them uncolored and color the hat, scarf and carrot nose?
Anyway, being a snowman-less stamper, I opted for the right hand row and used Trees (just one tree, but I'm hoping that's okay) and Embossing (dry embossing on the Cherry Cobbler card stock) and Your Choice which is the silver thread.
My complete supply list is:
True White Speckletone Card Stock
Stampin' Up! Lovely As a Tree (2001)*
Silver Card Stock
Silver Embroidery Floss
SU! Cherry Cobbler Card Stock & Ink
Memento Green Ink
Sizzix Embossing Folder
Stickles Pearl Red and Diamond Dust
Silver Enamels
Sentiment Unknown**
*I believe that Lovely As A Tree was the longest running stamp set in Stampin' Up!'s history! It was introduced in 2001 and ran through 2019.
**This stamp is in a basket waiting to go to a stamp class that I'm doing at my church and I have no idea where it's from. I'll take the time to track it down later, but wanted to get this entry in today.
So that's it for now. Thanks for stopping by my blog today and have a great day!
Who doesn’t love a rocking horse for Christmas!? This guy in white really stands out against a white background. The sentiment is perfect for anyone too
I mounted him on dark red card stock then used some patterned palaver to partially cover the green card stock. Three inexpensive, clear rhinestones give this card a finished look.
Feel free to use this and finish it for your own card or craft.
Here's the free digi. As always:
Snag it to your desktop or photos.
Put it in a Word or Page Document.
Resize it to the size card you want to make.
Print it out, either at home or at a copy center.
I hope you enjoy the freebie! Thanks for stopping by my blog today and have a wonderful day!
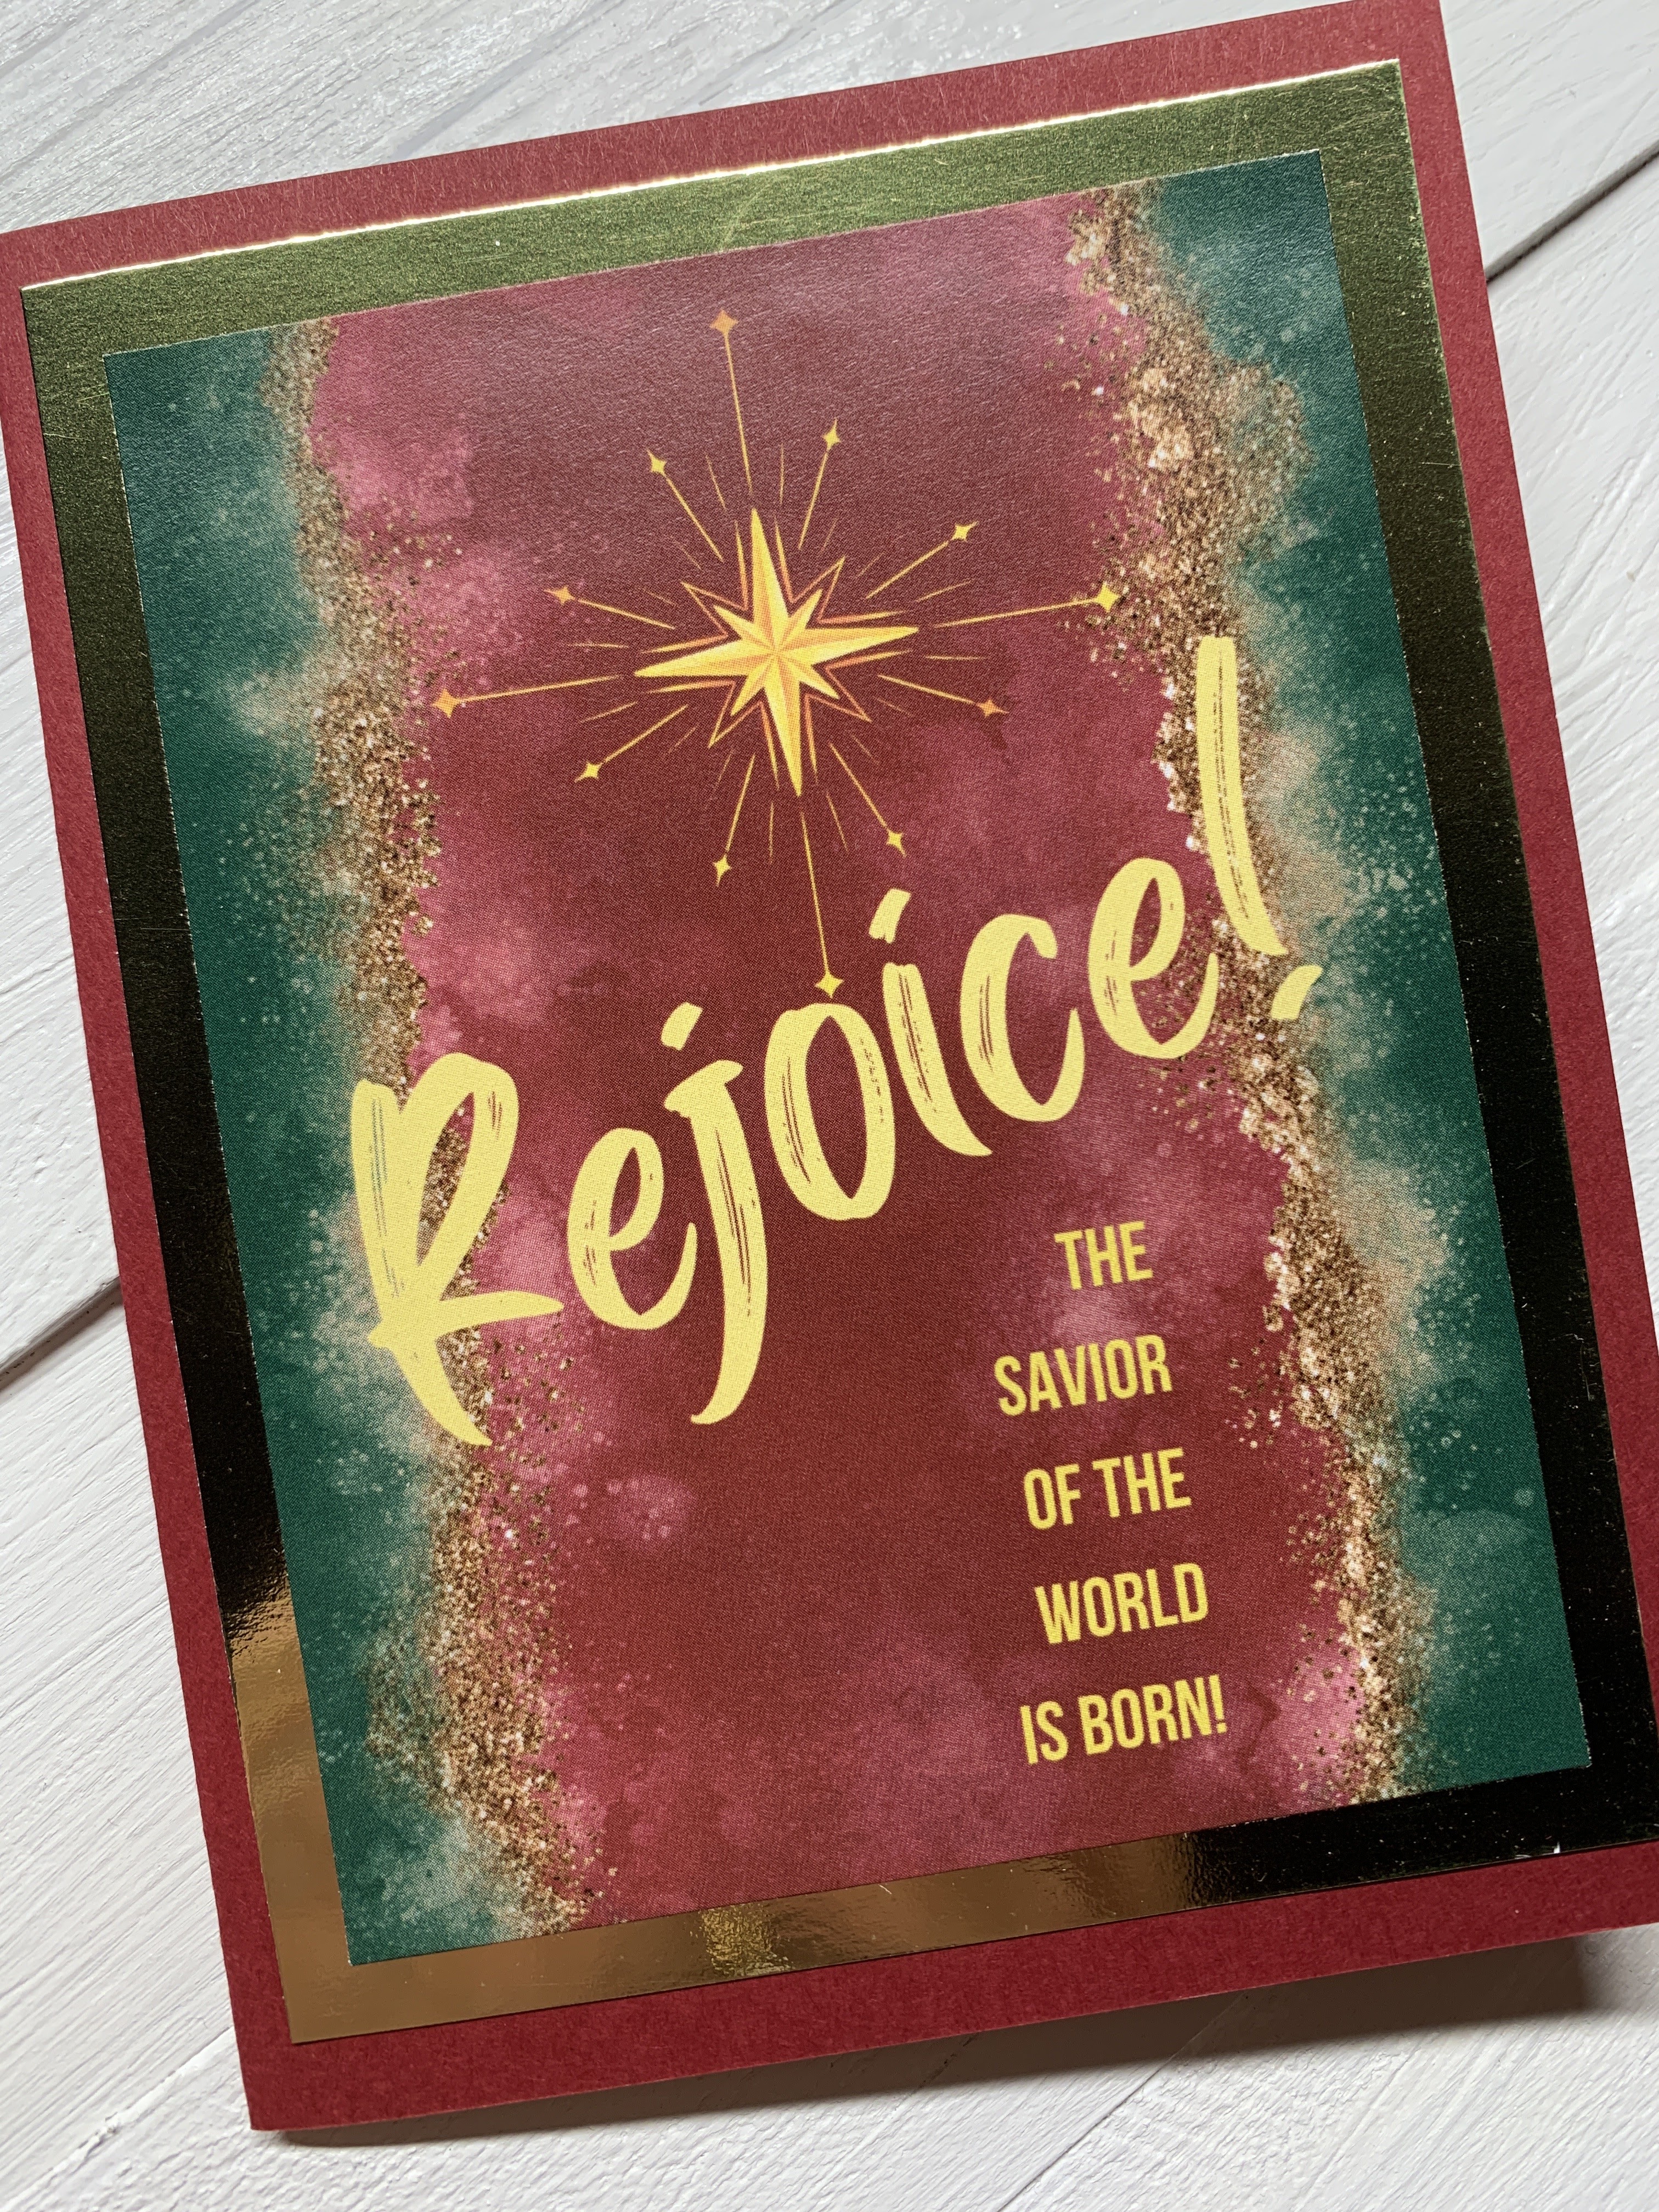
Here's a simple yet elegant way to send someone some Christmas cheer and to remind them of the true meaning of the season.
For this card I simply printed out the digital image and trimmed it. Then it got mounted on some gold card stock (available in packages at Michaels and priced great with a sale or coupon). Then it was mounted on a piece of dark red, cranberry-colored card stock. I put a white liner inside to complete it.
Here's the free digi. As always:
Snag it to your desktop or photos.
Put it in a Word or Page Document.
Resize it to the size card you want to make.
Print it out, either at home or at a copy center.
I hope you enjoy the freebie! Thanks for stopping by my blog today and have a wonderful day!
This sweet guy is having a playful moment with a little bird on his tail. The sentiment "sending joy" is perfect for any Christmas occasion.
I finished him in an A2 (4.25 x 5.5) size card by mounting him on dark forest green card stock. Then I taped a piece of patterned paper at the bottom of the red card base and taped the graphic on top. I put it just a little lower so I could include a twine bow on the top. Simple!
Here's the free digi. As always:
Snag it to your desktop or photos.
Put it in a Word or Page Document.
Resize it to the size card you want to make.
Print it out, either at home or at a copy center.
I hope you enjoy the freebie! Thanks for stopping by my blog today and have a wonderful day!
Like I mentioned on my Digital Stamps Page, I wouldn't be likely to buy a bowling set of rubber stamps because my brother is the only one I know who loves bowling. That's why I love creating digital designs like this one.
I'm not exactly sure if "Strike Out" is a cool sentiment for a birthday card, but I do know that strikes are good in bowling and I think he'll get the idea.
I just printed this out at FedEx, trimmed it down and mounted it on black card stock using a regular glue stick and then mounted that on a red card base. There's a white liner on the inside too.
If there's a bowler in your life, feel free to snag this freebie!
Here's the free digi. As always:
Snag it to your desktop or photos.
Put it in a Word or Page Document.
Resize it to the size card you want to make.
Print it out, either at home or at a copy center.
I hope you enjoy the freebie! Thanks for stopping by my blog today and have a wonderful day!
Over at Retro Rubber this time they have a sketch challenge, and I have to admit I took a lot of liberty in making my card look like it, but it certainly was a great inspiration. At first, I kept thinking about washi tape at the bottom. Then I pictured a wedding or birthday cake. But I really wanted to do a fall card so I settled on some leaves from an old Stampin' Up! set from all the way back to 2012.
After I finished I wished I had made one leaf in an orange, but I was trying to match up some plaid paper, which turned out to be too busy and I didn't use it.
After I finished it all, I thought this would make a nice masculine card, and they're always good to have on hand.
My complete supply list is:
Stampin' Up! Wonderfall (2012)
SU! Lighthearted Leaves (sentiment)
Memento Olive Grove Ink
Memento Rhubarb Stalk Ink
SU! Braked Brown Sugar Ink & Card Stock
SU Cherry Cobbler Card Stock
Patterned Paper (from my stash)
Thanks again to everyone over at Retro Rubber for another fun challenge, and thanks for stopping by today!
This cute little fox is from a Close To My Heart set called "Spring Critters." It featured four animals, but this little guy is the only one that's perfect for fall.
This card isn't my best work. For some reason, I had some bleeding with my Copic markers. Still, he's cute and certainly acceptable to send to someone with a birthday this fall.
The background papers are a collection of different papers that were pieced together. I feel I could have done a better job with that too. But all things considered, he'll make someone happy!
Flowers are my all-time favorite design to work with, but I'm loving the less traditional cards that I've been making too, including this one. Why not send someone sweet wishes with a piece of pie!?
This freebie is really quick and easy to print out and mount on an A2 (4.25" x 5.5") piece of card stock. I put mine on Stampin' Up!'s Mossy Meadow then on their Pumpkin Pie card stock.
I then cut two tiny slits in the top and bottom of the side of the card and tied a piece of embroidery floss into a bow to make the words and whipped cream stand out.
Here's the free digi. As always:
Snag it to your desktop or photos.
Put it in a Word or Page Document.
Resize it to the size card you want to make.
Print it out, either at home or at a copy center.
I hope you enjoy the freebie! Thanks for stopping by my blog today and have a wonderful season leading up to Thanksgiving!
Oh my goodness, how time flies! It seems like it was just a few months ago that I wrote to Leslie asking to be on the Christmas BINGO Challenges Design Team. And here we are at the last challenge before 2024, Christmas BINGO Challenge #4.
When I saw this BINGO Card, I knew right away that I wanted to not only do column "N" but that I wanted to do something different besides a card.
I had originally planned on making a Christmas pillow, and even bought the Poinsettia Stencil for that purpose. But as I got into the details about stenciling on fabric, I changed my mind and made a reusable Christmas gift bag. I didn't want to take any chances on the ink from a pillow running or smudging onto a sofa or onto someone's clothes. I thought the gift bag was a safer bet.
After doing some research and some trial and error, I decided to make a quick little video on stenciling on fabric. It's not totally comprehensive but shares a little about what I used to make this bag. You can watch it right here:
My complete supply list is:
Muslin Fabric
Memento Brilliance Ink in Pink
Memento Luxe Ink in Green
Memento Brilliance Ink in Gold
Pink & Main Poinsettia Stencil
Vintage Pearls (from a garage sale)
Vintage Doily (from a garage sale)
Pink Ribbon (gifted to me)
But before I go, let me say just how much I'm loving stenciling, and why this Poinsettia Stencil from Pink & Main is so cool. First of all, it's only $8.00. If you compare that to a stamp set of the same size, it's so much cheaper. Secondly, I love the way stencils layer together to create a multi-colored look but with the colors so close together. And thirdly, you can use shading when stenciling. Even with just one color you can apply the ink lighter in some areas and heavier in others. And you can even come in with another color entirely for greater depth and texture. I'm sure there are a lot of videos out there about stenciling, but I'd like to make a simple one soon.
I'd say the down side of stenciling is that sometimes the finer places on some stencils, like the veins in the leaves on this one, can get a little worn, but at the price point, I think you'll definitely get your money's worth out of them.
Disclosure: I didn't paid or receive any kind of reimbursement for this post. I genuinely just love this stencil! :)
Thanks so much for stopping by today, and if you get a chance, check out our latest challenge over at Christmas BINGO Challenges. We'd love to have you play along with us!


%20Christmas%20Wishes.png)